One of the things Melbourne Sake loves so much about sake is that it is fundamentally a simple thing that can be unbelievably complex. There is boundless complexity in its history, production, and in your glass.
Sake is made with only 4 ingredients: Rice, Koji, Yeast and Water but can give rise to a huge array of possible aroma’s, flavours, textures, and colours. The ingredients used, how they are used, and how they interact with each other, all integrally contribute to these elements in a finished sake. Minuscule changes are capable of making monumental differences.
This is a beginner’s guide, a Sake 101 if you will, to try and explain this millennia old, fascinating, and endlessly complicated brewing process as simply as possible. To make it more digestible we have broken it down into two parts. This is part 1.
Ingredients
Rice
All sake is made from rice. There are 1000’s of varieties of rice all over Asia. The rice is Japan is almost all short-grain used both for eating and making sake. Some amazing sake is made from table rice (the kind people frequently eat) but most is made from sake specific rice varietals.
Sake specific varietals differ from table rice mainly in the way the individual grain is constructed. Table rice’s nutrient content (starch, protein, fat, vitamins, minerals) is spread throughout the grain relatively evenly. These non-starch nutrients provide flavour and is why tables rice tastes good.
Sake rice tends to have the starch concentrated in the core of the grain, with the other nutrients more concentrated around the outside of the grain. This defined starchy core is called the “Shinpaku” in Japanese, which translates as the ‘White Heart’.
The reason this is important is because rice used for sake brewing is almost always polished to remove some (or all) of the outer layer of non-starch nutrients. The proteins, fats, vitamins, and minerals in a fermentation can affect the aroma’s, flavours, colours, and acidity of the sake. This isn’t necessarily a bad thing, some of the most flavourful and interesting sakes are made from minimally polished rice. However, the more non-starch elements present in the sake fermentation, the less control the brewer has.
When making incredibly delicate and precise sake (Ginjo styles), being able to control the fermentation and thus the character in the final sake is the most important thing. When making rich robust sake (Junmai styles), some control can be given over to allow for the development of rich, savoury and umami flavours encouraged by the proteins, fats and vitamins and minerals.
Koji-kin and Koji
Every sake brewers and sake geeks favourite subject. Koji-kin is the reason making sake is possible. And Soy Sauce. And Miso. And Mirin. Anndddddddd Shochu. And anything else distinctly Japanese and fermented that you care to think of. Koji-kin is the official mould of Japan for a reason.
Koji-kin is a kind of fungus (Apergillus Oryzae) that likes to grow on rice. Sake brewers sprinkle spores of Koji-kin fungus onto steamed rice to purposefully inoculate the grains of rice with Koji-kin.
Rice that has had koji-kin grown on it, is called koji.
These terms often (and understandably given their similarly) get mixed up and confused so for clarities sake to reiterate;
Koji-kin = the fungus spores of Aspergillus Oryzae
Koji = the rice that has had koji-kin grown on it
Koji rice is crucial in the sake making process because the koji mould it is covered in creates enzymes that convert the complex starch that you find in rice, into simple sugars. This is pivotal as yeast can’t eat starch, but it loves eating sugar. This conversion from starch to sugar is vital as when yeast feeds on sugar, it creates alcohol, aroma, and flavour (all the things we want in sake) through fermentation.
As well as allowing for the conversion of starch to sugar, Koji can create lots of amino acids (proteins) which accounts for Sake’s unique capacity for savoury umami deliciousness.
Yeast
Yeast causes fermentation by feeding on sugars. This process of yeast feeding on sugar creates three excellent things when it comes to making sake; alcohol, aroma, and flavour.
Naturally occurring yeasts are all around us and has been used in one form or another to make bread, beer, and wine for millennia. As with most other fermented beverages, using ambient “wild” yeast to ferment sake was the only option until the 19th century. Some artisanal craft breweries in Japan do still rely on ambient yeast but it is more common to use laboratory cultivated, specifically selected yeast strains these days – as it is with modern beer, spirits, and wine production.
There is a wide array of these cultivated yeasts available, with new ones being isolated, and old ones rediscovered all the time. The type of yeast used drastically alters the aromas and flavours found in Sake and is a rabbit hole of potential.
Water
By far the most voluminous ingredient in sake production. Around 80% of a finished sake is water. Given this, the composition of the water used clearly will make a huge difference to the production process and finished sake.
Specifically the mineral content of the water makes a huge impact on style. Water is often described as being somewhere on the spectrum of soft to hard based on it’s mineral content.
Hard water = High mineral content
Soft water = Low mineral content
Calcium and magnesium are the minerals measured to determine water hardness.
Harder water leads to a faster fermentation as the yeast are encouraged and strengthened by the high mineral nutrient content. Hard water sake tends to be drier, stronger in alcohol and taste as the fermentation is faster and stronger, and uses up more sugars.
Soft water leads to soft sake. Soft water causes slower more gentle fermentations as the yeast isn’t being fed as much by the mineral content. This soft and gentle fermentation tends to lead to softly textured and flavoured sake’s, with more sweetness, as the slower fermentation doesn’t use up as many sugars.
Sake Making Process
Polishing
Once the rice is harvested in Autumn, the very first brewing process is to polish the rice.
Why?
As explained above the purpose of polishing the rice is to remove the non-starch nutrients from the grain, to give the sake brewer more control over the fermentation.
How?
Carefully polishing away the outer layer of rice without breaking or cracking the grains requires specialised machines that are used exclusively for the polishing of sake rice. The machines are extremely expensive and often ginormous.
Because of this, most breweries do not polish their own rice and it is done by the huge mega breweries who can afford such machinery, or centralised contract milling companies.
Washing
As most breweries don’t polish their own rice, the first step within most breweries is to wash the rice.
Why?
Rice is washed to remove any particles that remain on the outside of the grains. Most of these particles are the rice flour (nuka) that remain on the grain after polishing. The rice flour needs to be removed from the grain as when it comes to steaming the rice, the tiny particles of starch will melt and act like glue when it cools, making the grains stick together.
Stuck together clumps of rice are no good for brewing as they are uneven and inconsistent in size and thus behave differently and less predictably than separate individual grains. Washing therefore is a critical step to help achieve individual rice grains and allow for consistency and controllability throughout the entire process.
How?
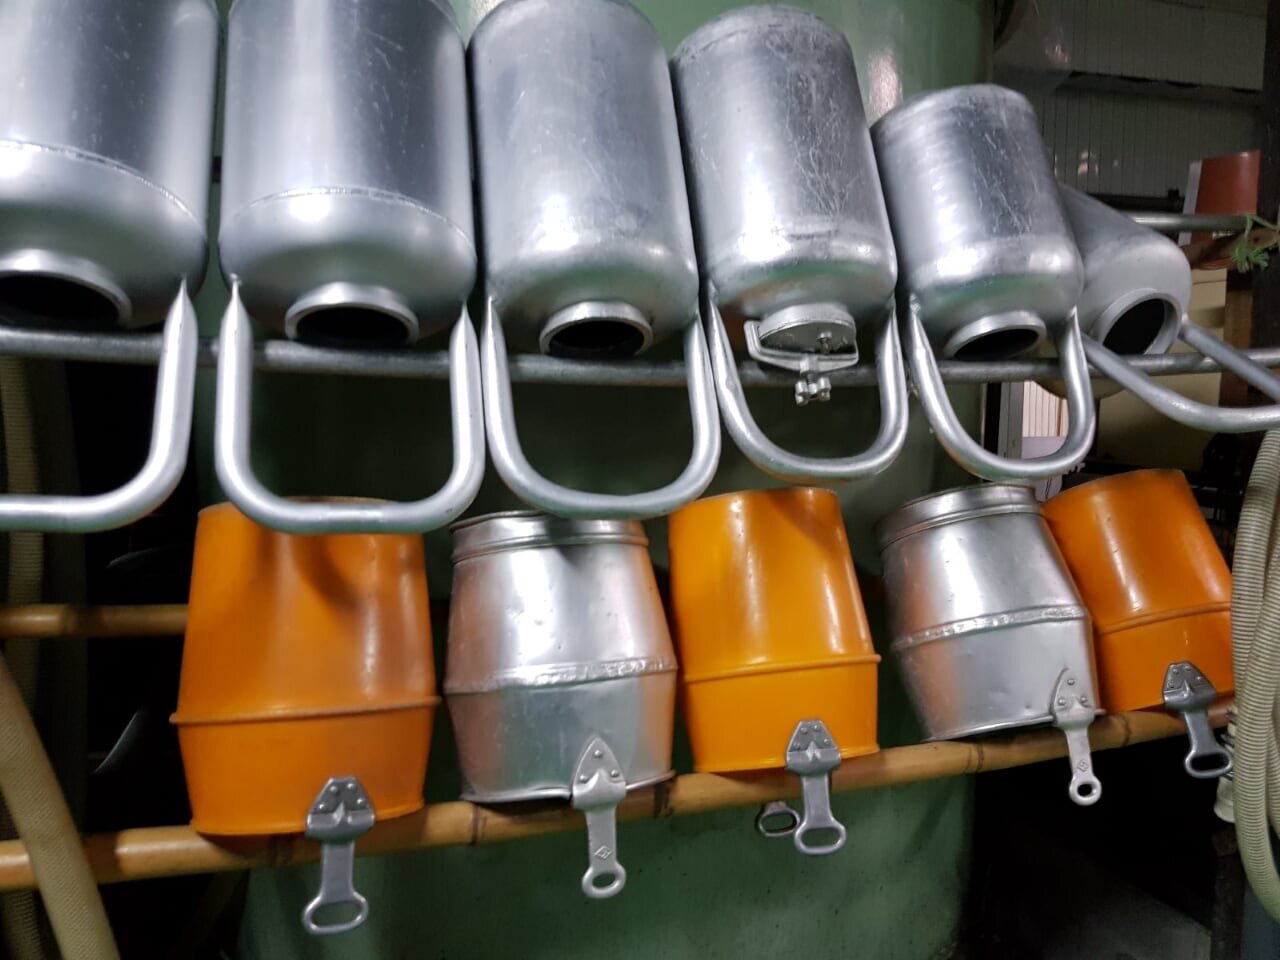
Almost all breweries have purpose made but simple rice washers like the one pictured below. Rice is dumped in the top, water is pumped in at high enough pressure to create a vigorous swirl, and the rice gets a good old washing.
Some breweries (such as Melbourne Sake) use a simple hand washing equivalent for some or all of their products. In this method, rice is put in a fine mesh bag and swilled around in water by hand.
Typical rice washing times are between 1 and 2 minutes.
Soaking
After the rice has been washed, the rice is soaked in water to increase its moisture content.
Why?
Increasing the moisture content is important as it assists in the next step, steaming. The reason rice is steamed is to break down or “gelatinise” the starch present in the rice grain. Soaking the rice to increase its moisture content means that starch is gelatinised more quickly and effectively during steaming.
Brewers aim for a specific % of moisture intake. Different desired outcomes will require different percentages of absorption, but a 30-33% absorption rate is common.
How?
Soaking can be done in bulk in large plastic or metal containers. This method is usually for inexpensive, less premium products.
More commonly, the rice is placed in fine mesh cotton bags that can hold 5-10kg with a zip (not dissimilar to domestic laundry bags). After washing, the rice is usually put straight into a small container pre-filled water for a pre-designated amount of time to achieve a certain absorption rate. This normally takes between 5-20 minutes depending on rice type, polishing rate, water temperature and the ambient conditions.
Steaming
The soaked rice is usually left overnight before being steamed first thing in the morning.
Why?
As described above, steaming is done to break down or “gelatinise” the starch. This helps the koji-kin grow better on the rice during Koji Making (see Part 2 of this article for further details) and for the enzymes created by the koji rice to convert that gelatinised starch into sugars in the fermentation starter and main fermentation.
How?
In Japanese breweries, steaming is done in large purpose-built stainless-steel steamers called Koshiki. They are a bit like giant versions of domestic kitchen steamers in that they have two compartments and a meshed separator. The rice is placed in the top compartment and water is either directly boiled underneath or steam is generated in a boiler and piped in. Most Koshiki’s can hold 1-3 tonnes of rice at a time.
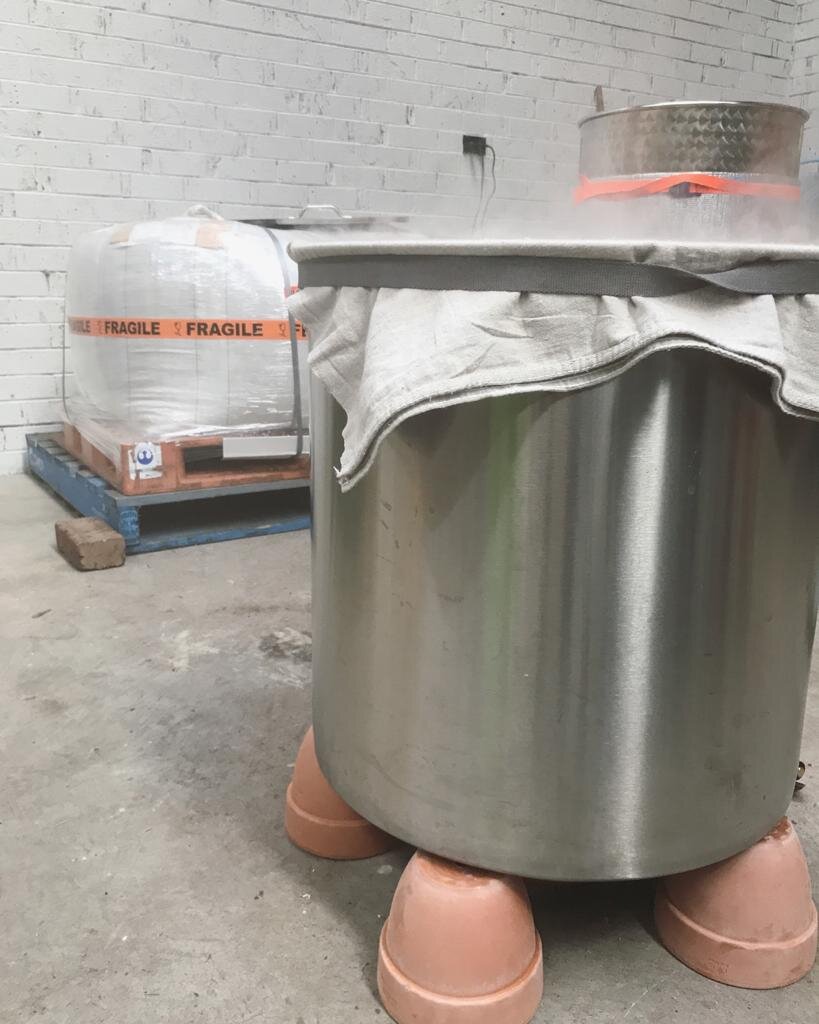
Outside of Japan such specialised equipment is hard to come by and thus brewers have to be creative. We use a large stock pot with a false bottom we have fashioned from a BBQ grill. An idea we borrowed from Dave Joll at Zenkuro in Queenstown, NZ.
The steaming process takes between 45-60 minutes.
Thus concludes Part 1. To read Part 2 please click here.
As always – any questions, about anything, please get in touch via one of the options below.
Cheers,
Melbourne Sake


